What is a Deburring Tool in 3D Printing?
Deburring tools are useful for optimal post-processing of your 3D printed parts, including parts using different reinforcement methods.
Introduction: What is a Deburring Tool in 3D Printing?
3D printing is revolutionizing the manufacturing world because of its ability to produce parts and components with intricate and complex geometric features that previously couldn’t be made using CNC machining. For 3D-printed parts with complex geometries, there are several important factors to consider to ensure that your part has the strength it needs to accomplish its intended function.
This article discusses several key factors for 3D printed parts, including deburring tools, minimum wall thickness, part reinforcement, and more. Let’s get started!

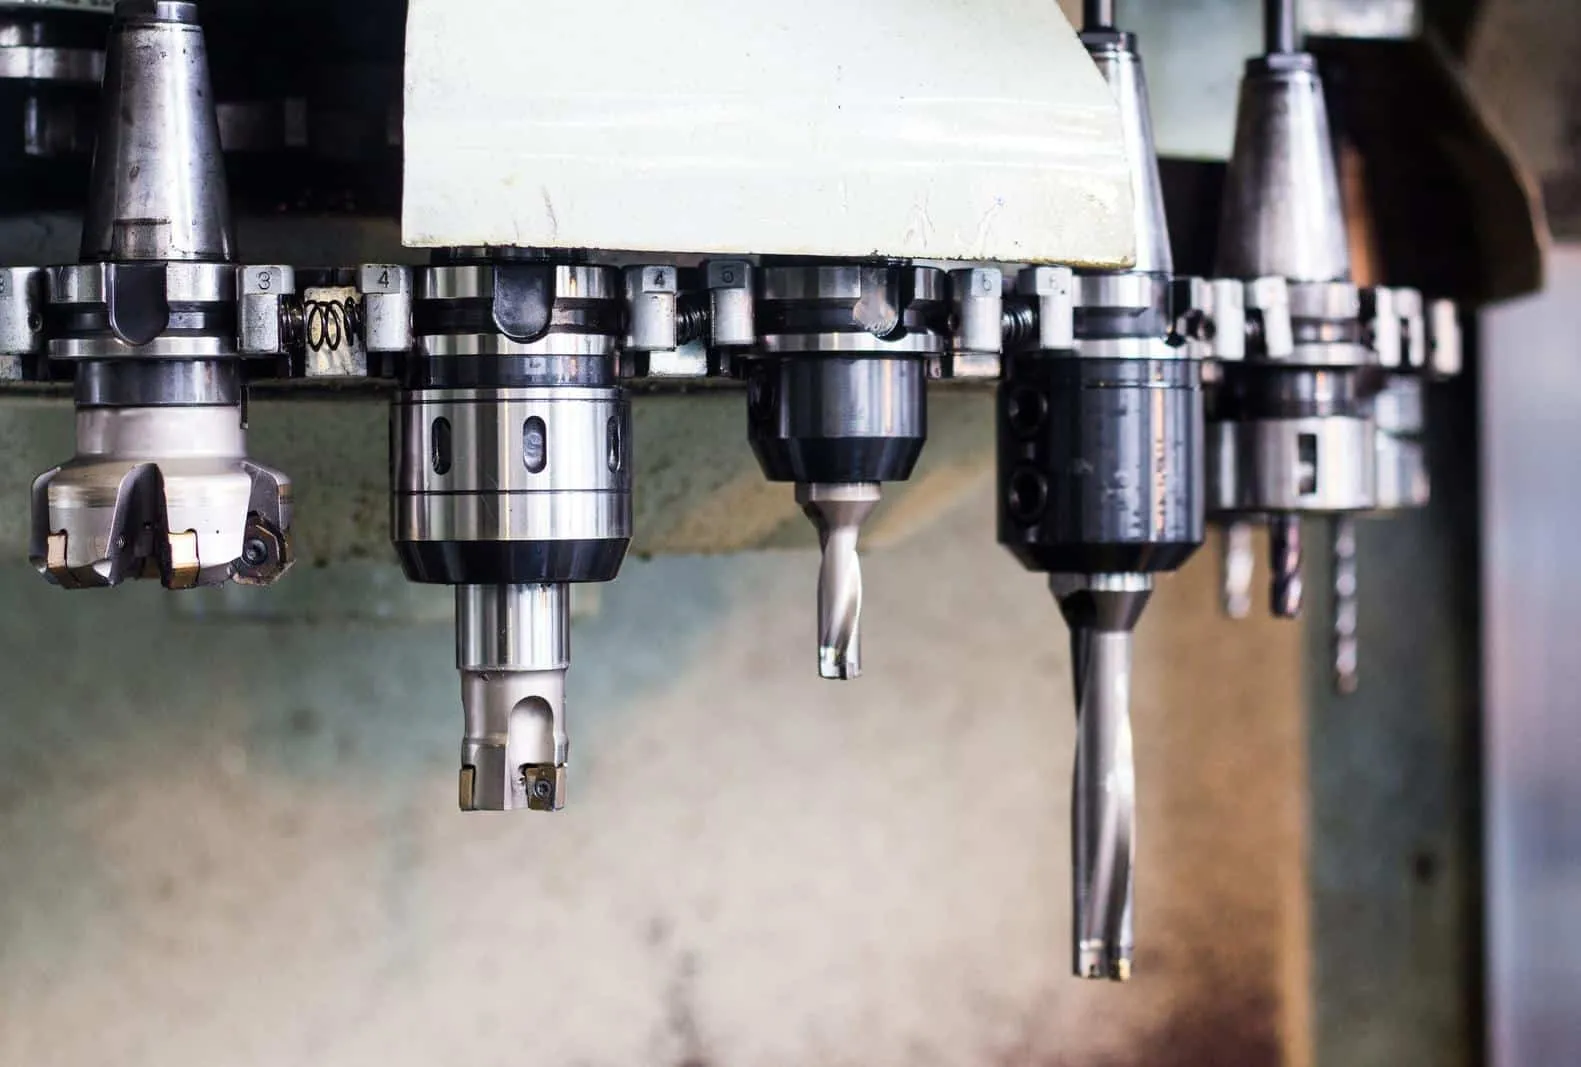
What is a Deburring Tool in 3D Printing?
Many part designers ask what a deburring tool is in 3D printing. A deburring tool is an effective option for cleaning up modeled holes in your 3D print. It’s also useful for removing plastic pieces from your 3D-printed parts. A deburring tool is also very effective for removing support material from the edges of your 3D prints.
What is the Thinnest You Can 3D Print?
Minimum wall thickness represents the thinnest you can 3D print your parts while ensuring they will still function properly. There are multiple factors that determine minimum wall thickness, such as external forces and the type of 3D printing technology being used.
The actual recommended minimum wall thickness depends on the specific type of 3D printer. That being said, here are some general design guidelines you can use as a point of reference for each printing process to ensure you have adequate wall thickness for your part:
- Stereolithography (SLA) – 0.2 mm
- Selective Laser Sintering (SLS) – 0.6 mm vertical, 0.3 mm horizontal
- Fused Deposition Modeling (FDM)—1 mm
SLA 3D printers typically offer the thinnest walls compared to other 3D printing processes. On the other end of the spectrum, FDM 3D printers print the thickest walls, and this thickness depends on the size of the nozzle your 3D printer is using. SLS minimum wall thickness is between FDM and SLA. SLS 3D printing technology is notable because it doesn’t require support structures since unsintered powder surrounds the parts during printing. For this reason, SLS 3D printing has the ability to manufacture parts with highly complex geometries that previously weren’t possible.
How Do You Reinforce 3D Prints?
Structural integrity is vital for 3D printing to ensure that your printed parts don’t collapse during their applications. When it comes to reinforcing 3D prints, there are multiple methods you can use.
Here are some of the most common methods used to reinforce 3D prints:
- Increase Infill Density — You can increase the strength of your 3D printed part by increasing the interior/infill density.
- Increase Wall Thickness—Increasing the wall thickness will strengthen your print and also improve overhangs and water tightness.
- Utilize Thinner Layers—Thinner layers create better adhesion and density between adjoining layers, reinforcing your 3D printed part.
- Use Strong Infill Patterns—You can use different infill patterns to reinforce 3D prints, including triangular, rectangular, and hexagonal. Infill patterns complement infill density to compose the internal support structure for your part.

How Do You Reinforce PLA Prints?
PLA is a commonly used material for 3D printing. PLA is easy to print with and provides sufficient strength for many applications, even though it’s somewhat brittle. These properties make PLA an excellent material for reinforcement with a heat treatment known as annealing. When annealed, PLA 3D printed parts can increase in strength by as much as 20% while simultaneously decreasing in brittleness.
Does Epoxy Make 3D Prints Stronger?
Epoxy can be used to strengthen 3D prints. Epoxy makes a surface coating that is insoluble and hard. These properties make it an excellent option for achieving solvent resistance and durability for 3D parts printed with PLA, ABS, and SLA.
Here are the basic steps for applying an epoxy coating to 3D prints:
- Let your 3D print cool after printing
- Once cooled, carefully clean the surface
- Warm the epoxy until it becomes a viscous fluid
- Apply the epoxy coating to your 3D printed part using a brush.
- Let the epoxy coating dry completely
It’s worth noting that a little bit of epoxy goes a long way. Once the epoxy coating dries, your part will be much stronger and more durable. It will also have a clear, shiny surface.
Get multiple quotes for your parts in seconds