SLS 3D Printing Finishing and Design Guidelines
When it comes to SLS 3D printing, you need to be aware of several finishing considerations and design guidelines.
Introduction SLS 3D Printing Finishing and Design Guidelines
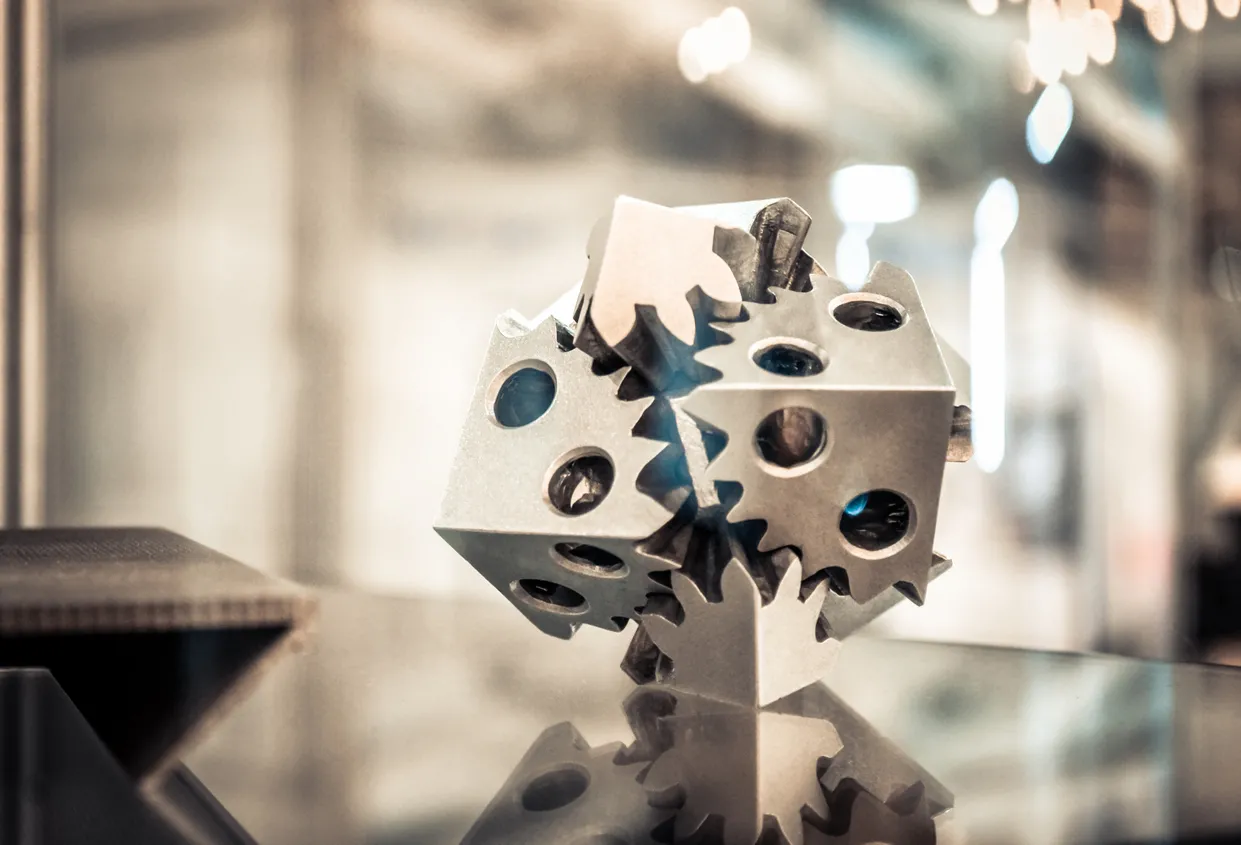
SLS 3D printed parts are strong, functional, and have the ability to meet strict tolerances. Despite these advantages, SLS 3D printed parts have rough, grainy finishes. As a result, post-processing of SLS parts is an important step to ensure your part has the best finish possible.
In addition to post-processing finishing considerations, there are several SLS 3D printing design guidelines that you need to be aware of for your part. In this article, we take a closer look at the different options for SLS post-processing and key design guidelines for your SLS 3D printed parts.
What are the Options for SLS Post-Processing?
Standard Finish
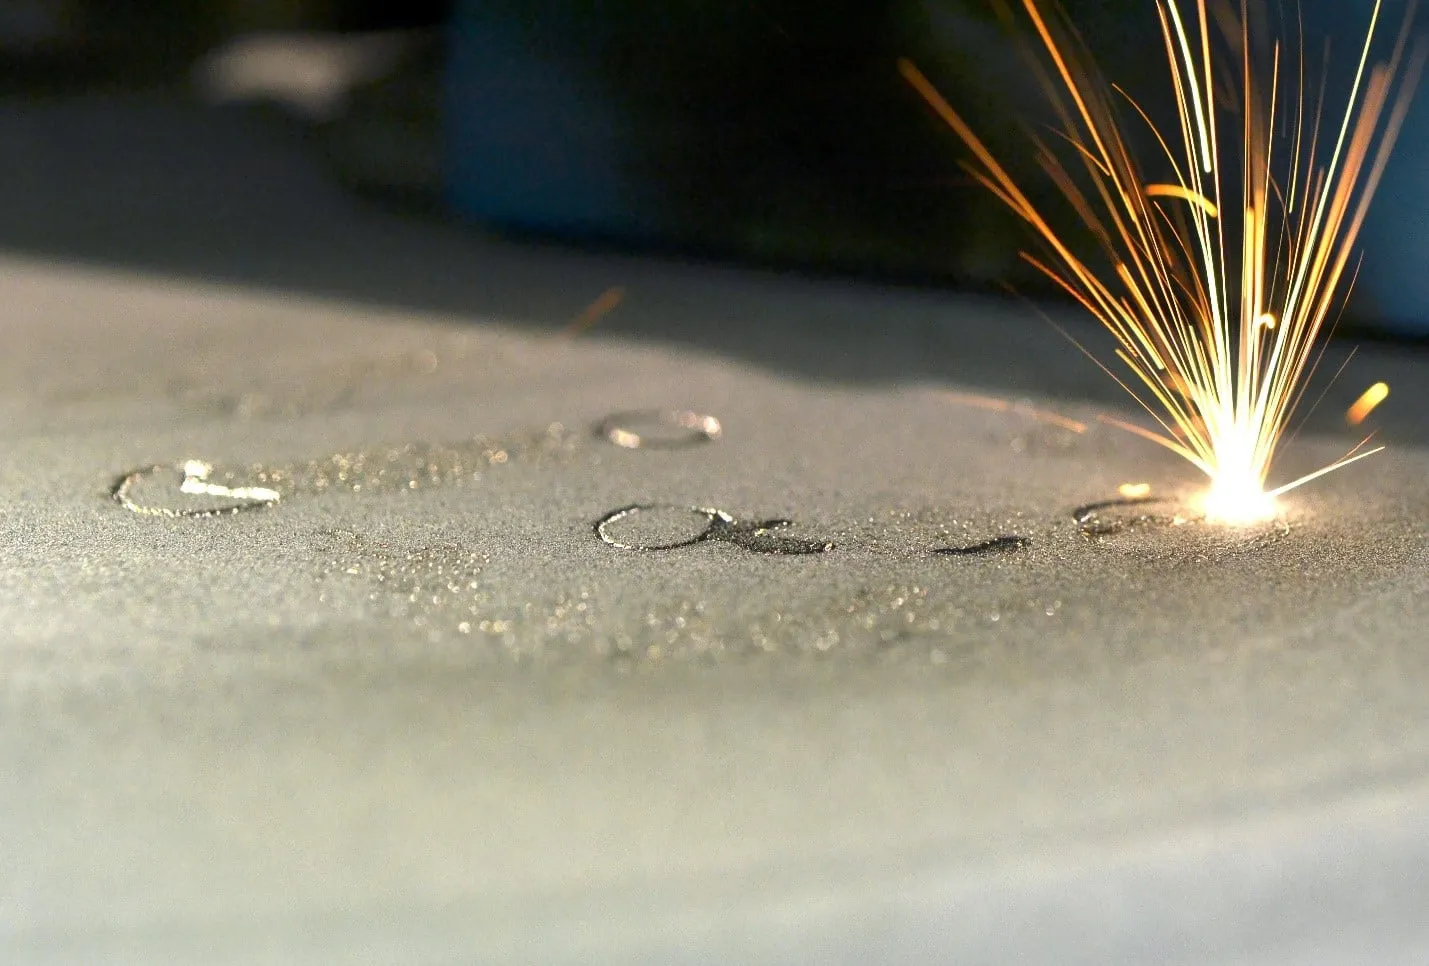
For a standard SLS 3D printed finish, air pressure is necessary to remove powder from the part. For any remaining powder sticking to the part’s surface, plastic bead blasting is employed for removal. The result is a grainy, matte surface finish similar to the roughness of medium-grit sandpaper.
Standard SLS finishes provide accurate overall geometry of the intended design. Additionally, standard finishes have lower-cost factors because additional SLS 3D printing finishing methods are not employed. Despite these benefits, standard finishes offer limited color options as the color of the powder determines the color.
Media Tumbled
If a standard finish is too rough for your part’s intended application, you could opt for polishing using a media tumbler. Media tumblers utilize small ceramic chips which vibrate against the part’s surface and carefully remove the roughness so that the surface has a smooth finish. It’s important to be aware that media tumbling will slightly alter the dimensions of your part and will also round off sharp edges. For these reasons, parts with intricate, fine details may need to avoid media tumbling.
Dyeing
The most affordable and quickest method of adding color to SLS 3D printed parts is by using a dye process in post-processing. SLS 3D printed parts are quite porous, making them well suited for dyeing. Dyeing offers many different colors to choose from and multiple parts can be dyed at one time. Unlike media tumbling, dyeing will not affect the dimensions of your SLS 3D printed part.
The part is dipped in a dye bath during the dyeing process, which provides excellent coverage of hard-to-reach places on parts with complex geometries. While dyeing offers great coverage, it’s important to note that the dye usually only penetrates to a depth of around 0.5 mm. This means that over time wear and tear could erode the dye color on the part’s surface, bringing forward the color of the original printed powder.
Spray Paint and Lacquer
Another option for post-processing SLS parts is to apply lacquers and spray paint. Different varnishes, clear coats, and paints can be used to produce a wide variety of different finishes for functional and aesthetic purposes. With lacquers, parts can be processed to produce metallic sheen or high gloss finishes. These lacquer finishes bolster resistance to wear and tear and also increase surface durability and water tightness. While spray paints and lacquers have many advantages, it’s important to understand that these processes are less efficient compared to dyeing and that the process will impact the dimensions of your part.
Watertightness Coatings
Different coatings can be necessary for SLS 3D printed parts that require more watertightness. For example, silicone and vinyl-acrylate coatings can provide excellent water tightness to protect your parts. On the other hand, polyurethane (PU) is ineffective as a waterproof coating for SLS parts. Similar to spray paints and lacquers, watertight coatings will affect the dimensions of your part.
Metal Coatings
When it comes to coatings in post-processing, metal coatings are also an option for your SLS 3D printed parts. Metal coatings can take the form of stainless steel, copper, nickel, gold, and chrome. These metal coatings enhance the strength of the part and also can make the part conductive to electricity. Metal coatings are desirable for many parts from an aesthetic perspective. Despite the advantages of metal coatings, they increase the cost of production and lead time for your project.
Design Guidelines for SLS 3D Printing
Wall Thickness
The thickness of the walls of your part is a critical factor to consider when planning your design. Walls must be thick enough to ensure your part doesn’t collapse during the SLS 3D printing process or in the field during normal functioning. For most SLS 3D printed parts, wall thickness needs to be at least 0.7 mm (for PA 12) to 2.0 mm (for carbon-filled polyamide). In some cases, if a support structure is used, it’s possible to have walls as thin as 0.6 mm.
Hole Size
In contrast to subtractive manufacturing, SLS 3D printing prints holes as the part is printed instead of having holes drilled after printing. While this is a significant advantage of SLS 3D printing, it’s important to keep in mind that the holes must be at least 1.5 mm in diameter. Designing holes at least this size ensures excess powder doesn’t become stuck in the holes.
Part Size
When it comes to SLS 3D printing, the maximum part size is 340 mm × 340 mm × 605 mm. On the other end of the spectrum, the minimum recommended size for features is 0.75 mm.
Tolerancing
The degree of dimensional accuracy depends on the specific SLS 3D printer being employed, as well as the size of the printed part. SLS 3D printing has the ability to print with a high degree of accuracy. While SLS 3D printing is highly accurate, it’s vital to limit tolerances to locations on your part that are most critical, including areas for mating parts. If too much tolerancing is used, the SLS process will become less efficient.
Hollowing
One of the most exciting features of SLS 3D printed parts is that they can be hollowed to reduce weight and save cost on materials. For hollowed areas of your design, escape holes must be included so that you can remove excess powder from the hollowed areas.
Assembly of Interlocking Parts
Another very desirable aspect of SLS 3D printing is that it can print interlocking and moving parts in one build. This means it’s not necessary to print separate parts before they can be assembled. When designing interlocking parts, use a minimum clearance of at least 0.5 mm.
Get multiple quotes for your parts in seconds