How to Make Perfect 3D-Printed Parts
Optimizing the 3D printing process and picking the best material and finish
Learn more now!
Introduction
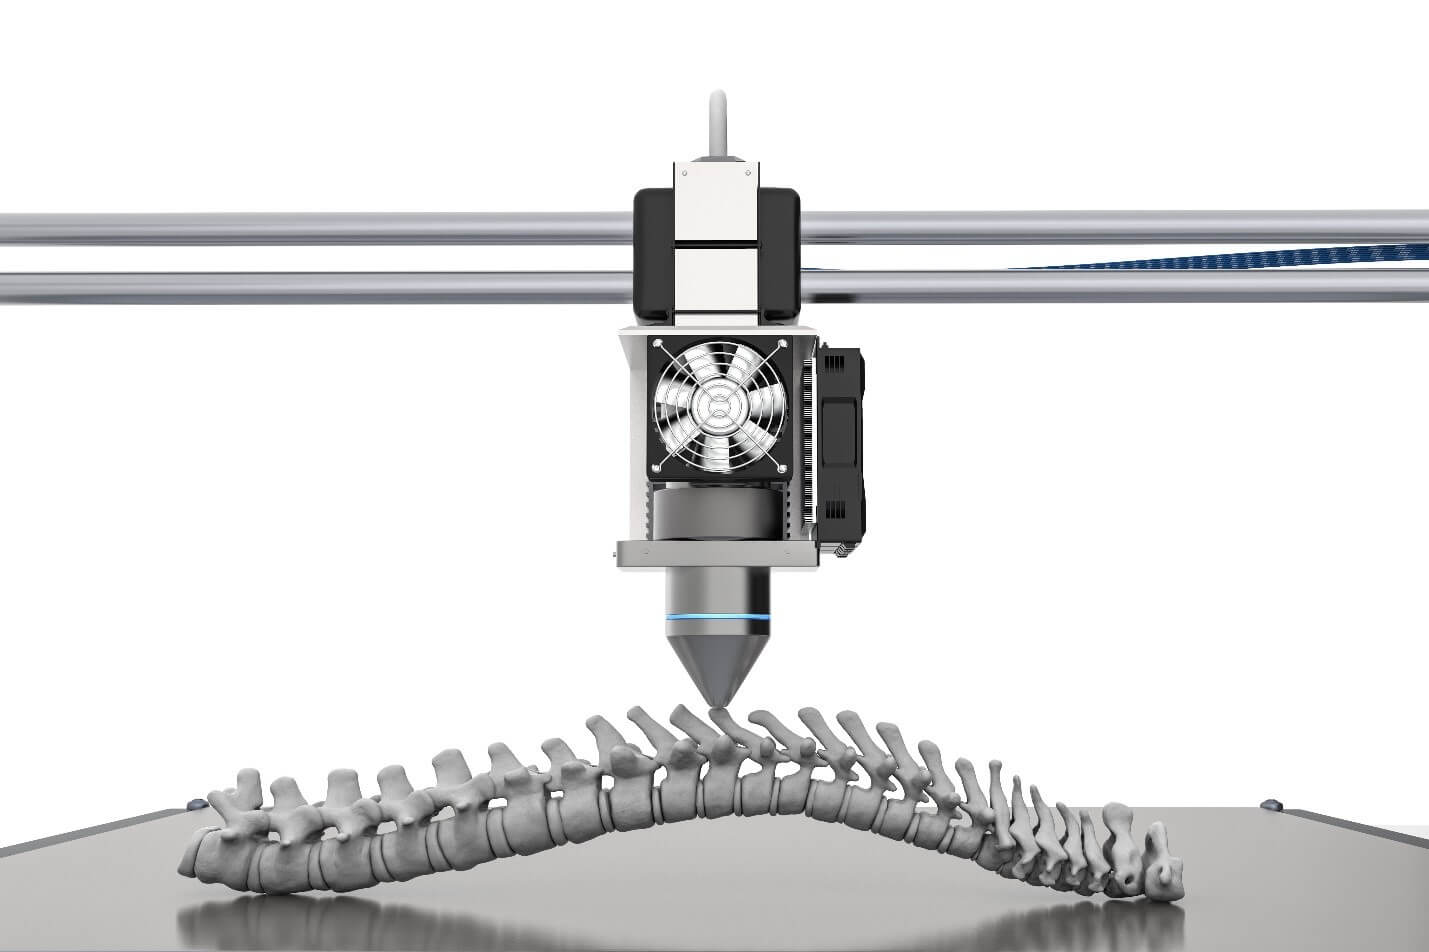
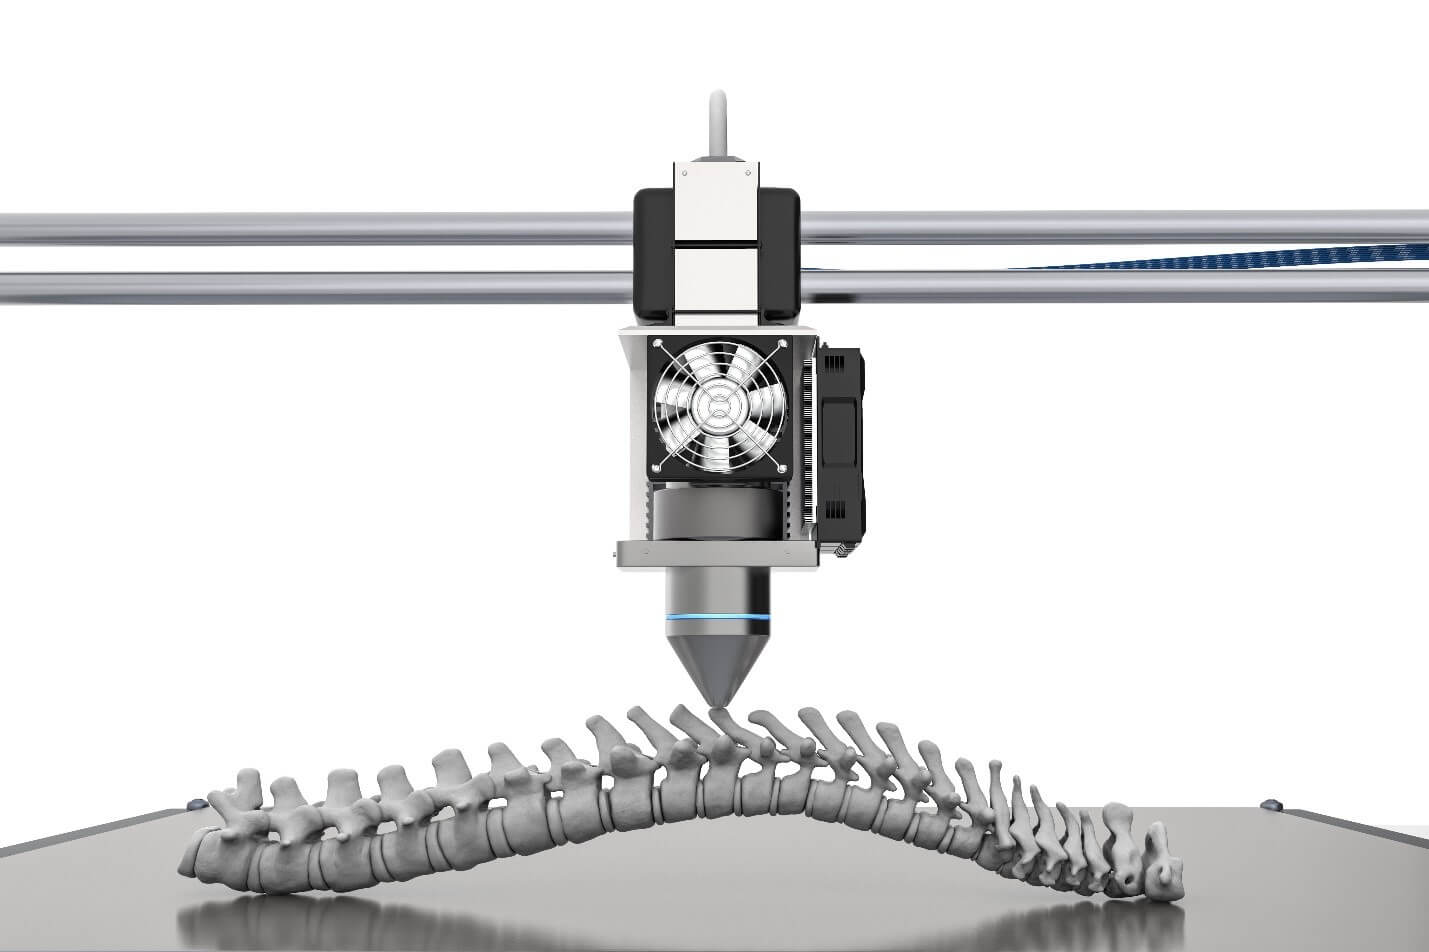
3D Printing is a popular additive manufacturing process that creates three-dimensional objects from a computer-aided design (CAD) file thriving across the economy's major sectors. The printing process adds successive layers of material to create end products used for rapid prototyping, tooling, and manufacturing complex parts and products. Constructing the perfect 3D printed part relies upon a variety of factors, including the 3D printer technology being used, the product design, the product orientation, the material used, and the print settings.
This article discusses repairing broken 3D printed parts, including plastic and hole repairs.
What Makes the 3D Part Perfect?
Like most manufacturing processes, several variables must be refined to optimize a process. The same holds true with 3D printing. Many of these considerations include:
- 3D Printing Technology - Choose the right 3D printing technology for your application(s). Among the most common 3D printing technologies are:
- Fused Deposition Modeling (FDM) – the least expensive 3D printing technology
- Stereolithography (SLA) – Value 3D printers
- Selective Laser Sintering (SLS) – Among the best printers on the market
- PolyJet – High-quality machines
Each of these technologies has different capabilities and available materials.
- Correct Material - Depending on the type of part and application, you will need to decide which 3D printing material to use. This affects the product's strength and flexibility, including unique material properties such as strength, flexibility, and heat resistance. Research is advised when selecting the material that best suits your performance requirements.
- Optimal Design - Before printing your part, you must first design it using a 3D modeling program. Considering factors such as wall thickness, overhangs, and structural supports is best. The part's orientation during the printing process is another important consideration affecting strength, accuracy, and surface quality. These factors can impact build time, material usage, and cost.
- Software - Slicing software takes your 3D model and prepares it for 3D printing by creating the layers for each print. Selecting the correct slicing software and settings for your 3D printer, filament, and application can be significant.
- Printing and Inspecting - Once your part is sliced and ready for printing, configure the printer settings and load the 3D model. An inspection helps identify problems that could lead to failed prints, such as misalignments, inadequate layer adhesion, and incorrect extruder temperatures. An assessment helps test printed parts' accuracy and fit, ensuring they meet the required design specifications. Furthermore, an inspection can help to identify any variances in the material properties of the finished product, helping to ensure that the desired mechanical and aesthetic properties are met.
- Post Processing - Depending on the 3D printing technology you used and the material you printed with, you may need a post-processing operation for your part. Post-processing can include removing printing supports, cleaning, sanding, tumbling, painting, stress relief, curing, etc.
- Testing - You should test the finished part to ensure it meets your requirements.

How to Pick the Best Material?
Selecting the correct 3D printing materials can be challenging. There are variables to consider.
- Are you considering a thermoplastic or thermoset material?
Thermosets are polymers that become irreversibly hard when heated or cured. They are cross-linked polymers and cannot be remolded or recycled, while thermoplastics are polymers that can be repeatedly softened when heated and hardened when cooled. Thermoplastics are sustainable materials that can be melted and reshaped multiple times.
- What performance level are you considering?
The material costs range from low-performance to high-performance materials, which have different properties that make them better suited for specific applications. Your application and material requirements impact your decision. These factors include:
-
- Compression
- Creep
- Elongation
- Flexural Modulus
- Hardness
- Heat Deflection
- Impact Strength
- Tear Strength
- Tensile Strength
- What aesthetic qualities are desired?
Depending on the product you are creating, you should probably consider the look and feel of the material you select. Factors such as color, texture, and surface finish can all impact the overall appearance of your product.
- Ensure that the material is compatible with your 3D printer.
- Consider the material's cost. Research the cost of different materials, and you may wish to select a material that is most cost-effective for your project.
How to Pick the Best Finish?
Several factors significantly impact the final product when selecting the best 3D printing finish. These factors include material, the object's end use, and the finish's cost. Producing a highly detailed object likely requires a more expensive finishing operation.
- Painting: Painting hides imperfections while adding a unique look to your project. It's an inexpensive option that can also be used to mimic the look of other materials. The challenge is to achieve a uniform finish across the entire surface of a 3D-printed object.
- Sanding: 3D printing is generally known for producing "less-than-desirable" product finishes. Sanding can smooth surface imperfections and provide a base for additional finishing techniques. Sanding can be time-consuming and requires patience to achieve the desired results. Sandpaper grits of 100 to 600 are common for sanding. Sanding sponges are another option to sandpaper.
- Polishing: Polishing is another method of adding a glossy finish to a 3D-printed object. It's also relatively quick and easy to perform, although achieving a uniform finish across the entire surface can be difficult.
- Electroplating: Electroplating allows a metal appearance on a 3D-printed part without using the more difficult-to-print metal composite materials. This process works well with 3D printing processes such as SLA.
- Post-Processing: Vapor smoothing or laser sintering are operations used to refine the product surface. These post-processing techniques can produce a high-quality, uniform finish that is suitable for a variety of applications. They are expensive and require specialized equipment and expertise.
Each technique has its benefits and drawbacks, so it's essential to consider all your options before choosing the best 3D printing finish for your project. There is no one-size-fits-all solution for selecting the best 3D printing finish. Different finishes may be more suitable than others depending on the type of material, application, and desired look.
Get multiple quotes for your parts in seconds
