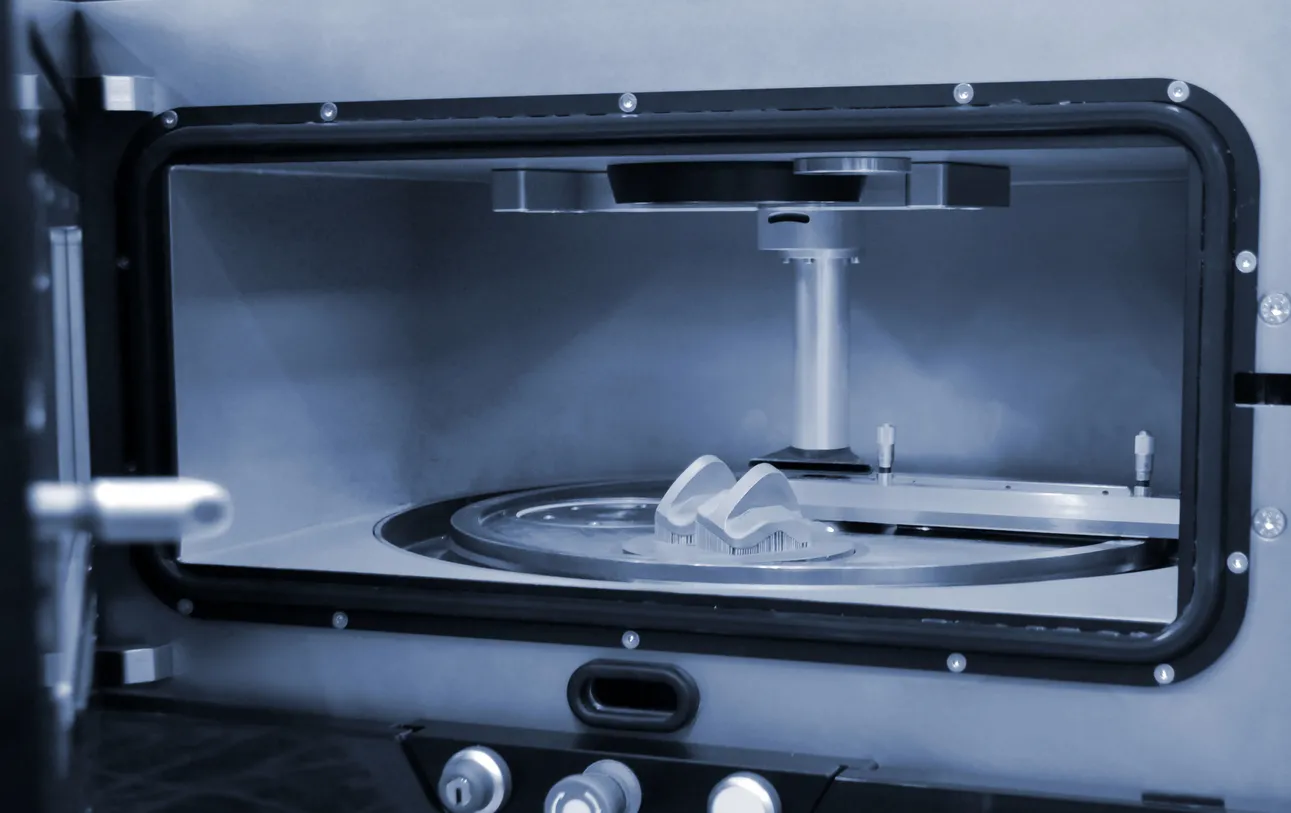
FDM 3D Printing Finishing
There are some important finishing considerations you need to be aware of when it comes to FDM 3D printing.
Introduction to FDM 3D Printing finishing
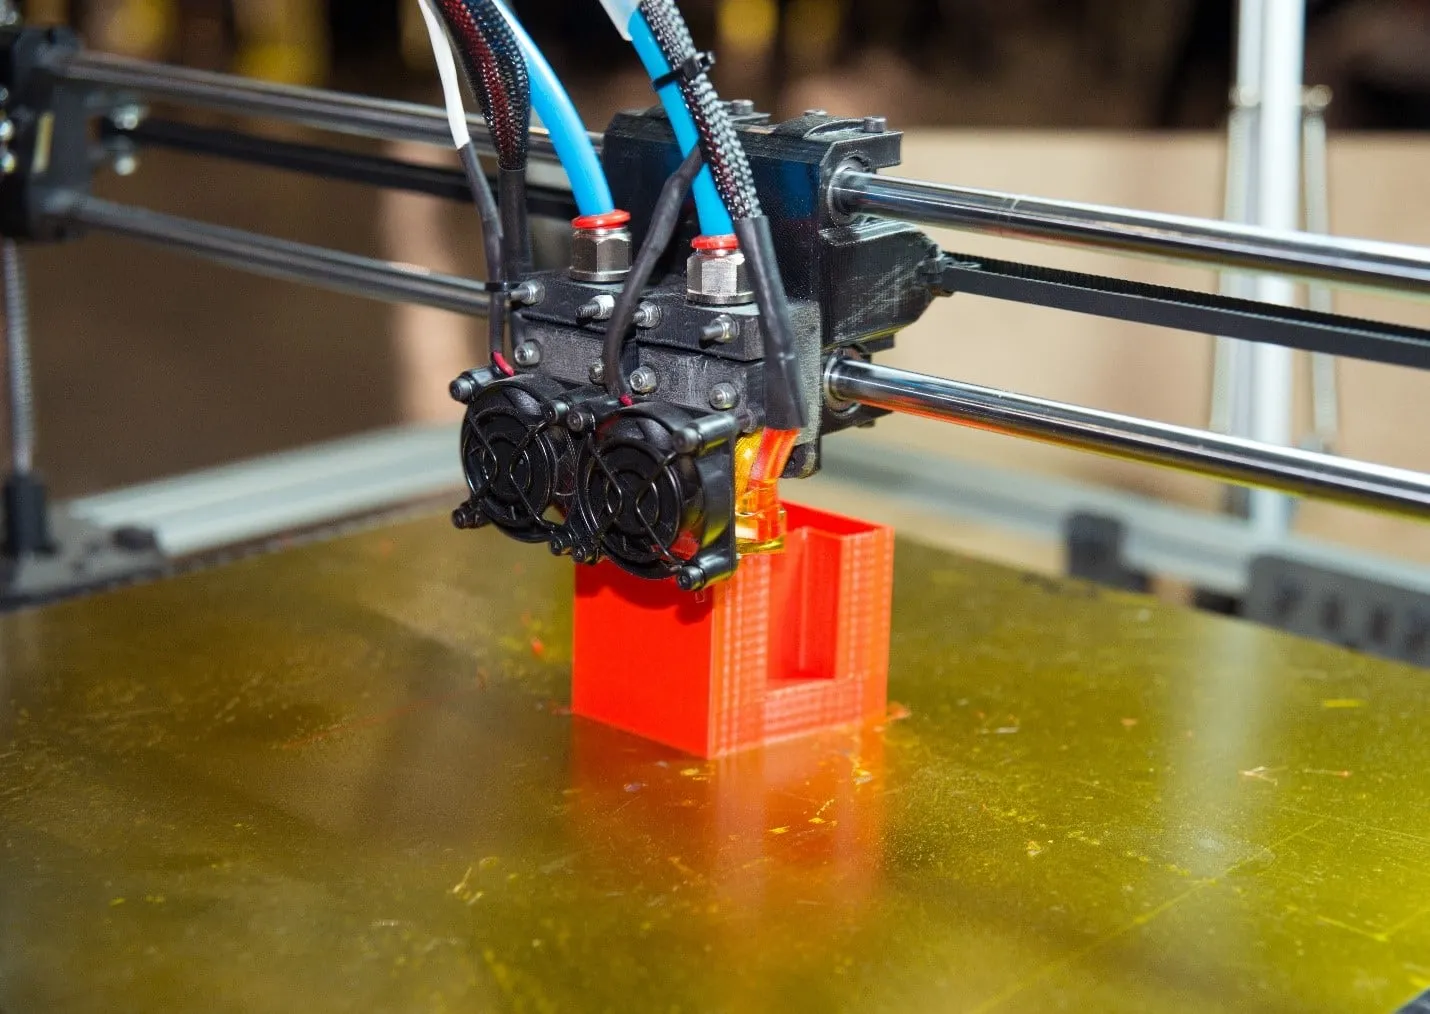
Do you have an FDM 3D printing design to produce quickly and cost-effectively? If so, FDM 3D printing might be a great option to consider. The main thing to be aware of is that FDM 3D printing produces layer lines on the parts, which means post-processing is a critical aspect of achieving a smooth, desirable surface finish for your part or prototype. Moreover, some post-processing techniques can add additional strength to prints.
Post-processing of FDM printed parts actually begins with the removal of support material from the part. After removing the support material, there are many different types of processes and finishes you can employ on your part. Let’s take a closer look at some of the most common types of FDM 3D printing finishes.
The Most Common Ways of Finishing FDM 3D Prints
Sanding
You can sand any bumpy areas on your prototype that were left behind after removing the supports. Sanding ensures support bump removal and your prototype has a much smoother surface. To determine which sandpaper grit to use, you need to take into consideration the print quality and the layer height. If your layer height is 200 microns or less, you can try starting with a grit of 150. However, if your layer height is 300 microns or more, or if your prototype has significant bumps, you may want to actually start at a grit of 100 instead of 150.
As the sanding process unfolds, you can increase the grit up to 5,000 as long as you take a gradual approach, which means going from 220 to 400, to 600, etc.—rather than just jumping straight to 2,000 or 5,000 grit. For many prototypes and parts, wet sanding is preferable over dry sanding so that friction and heat don’t damage your print. You can simply use a toothbrush and soapy water to clean your part between rounds of sanding to avoid dust caking.
It’s best to sand in circular motions rather than perpendicular or parallel to print layers to avoid creating trenches on the surface of your print. Additionally, you can employ a heat gun (also known as fire-based touch-ups) to heat certain areas of your part, which softens the surface and thereby reduces discoloration and scratching from sanding.
Gap Filling
Post-processing of FDM 3D printing reveals gaps in your print. Often these gaps are uncovered after dissolving supports or sanding. Gaps can occur during FDM 3D printing with incomplete layers because of toolpath limitations.
The good news is that you can simply use epoxy to fill small gaps. For larger gaps in your part, you will need to utilize an autobody filler. After your autobody filler is dry, you will need to do more sanding. Thankfully, autobody filler tolerates sanding and painting pretty well. Additionally, autobody filler doesn’t weaken the plastic in your part.
In addition to autobody filler, you can also fill gaps in an ABS print with acetone and ABS filament. This will cause a chemical reaction with your ABS part and fill any gaps on the surface. If you go this route, it’s best to use a mixture of 2 parts acetone to 1 part ABS so that the surrounding surface area on your part is not negatively affected.
Acetone Cold Welding
FDM 3D printers have a limit on the size of a part that they can physically print. For larger parts that exceed this limit, your part will need to be printed in multiple components and assembled after printing each piece. For some materials such as PLA, you can assemble the components using different types of glues. However, for ABS printed components you can join them utilizing a method known as acetone cold welding. During this process, apply acetone to joining surfaces and subsequently clamp in place until the acetone evaporates. Once evaporated, the components will be joined together as a result of the chemical reaction with the acetone.
Vapor Smoothing
If you want another option for smoothing your print during post-processing, consider vapor smoothing. To get started, line a metal or glass container with absorbent paper towels. Use a sealable container during the vapor smoothing process.
Once the paper towels are lining your container, add a solvent to make the paper towels damp, but not drenched. If you print with ABS, acetone is a great solvent to use in vapor smoothing. On the other hand, if you print with PLA, there are multiple solvents you can use including MEK and THF.
Next, create a raft of aluminum foil in the middle of the container. Put your part on the foil raft and seal off the container. Now the vapor polishing process begins and will continue for different lengths of time depending on your specific print and solvent. Check your part to see how much smoothing has taken place. If the vapor smoothing is taking too long, you can gently warm the container to speed up the process. However, heat very carefully because the vapors can be flammable or even explosive.
After sufficient smoothing has occurred, remove your print carefully without touching it. Instead, grip the foil boat to lift your part out of the container. If you accidentally touch your part too soon, it’s possible that your print will be deformed because the surface may still be malleable from the vapor smoothing process. For this reason, you must let the solvent fully evaporate before handling your print.
Dipping
Dipping is somewhat similar to vapor smoothing, except that instead of gas, use liquid to finish the print. With dipping, use acetone for ABS prints and use MEK or THF for PLA prints. To start, make sure your metal or glass container is large enough for your part to be submerged in without having the solvent overflow. Place an attachment on your parts such as a hook or screw to secure a solvent-resistant wire to the print. With the wire in place, dip your part into the solvent-filled container so that it’s completely submerged for around three seconds. After three seconds, remove your print and use the wire to hang your print on a drying rack until the solvent has completely evaporated from the surface. To ensure excess solvent doesn’t pull in any recesses on your print, you can gently shake the print after taking it out of the solvent bath.
Polishing
After your sanding process, you have the option of applying a plastic polish to FDM 3D printed materials such as ABS and PLA to produce a sleek, smooth surface finish. To get started, use a tack cloth to wipe off any remaining dust from your part. You can also utilize a toothbrush to scrub your part in a warm water bath to make sure the surface is clean.
Once your part is completely dry, apply the plastic polish to your print using a microfiber cloth or buffing wheel. An example of a polishing compound for FDM 3D printed parts is Blue Rogue. Blue Rogue gives FDM prints a desirable shine after polishing.
If your part is FDM 3D printed in material that includes a high concentration of metal powder, you can use a tumbler very effectively to polish your print. A simple rock tumbler using brass screws can polish these parts to greatly increase their smoothness. The brass screws chip away nonmetal material on the surface of your part, which leaves behind the metal material of your print.
Painting
If you want to paint your FDM print, you need to first sand the surface up to a grit of at least 600. You can use an aerosol spray to apply two coats of primer after sanding. It’s important to not use too thick of a primer, otherwise, some of the finer features of your print might be covered up and need subsequently additional sanding. Do priming carefully using small sprays about 15–20 cm from the print.
After your print has been primed and sanded, you are ready to paint your part. While you can certainly paint your print using a brush, an aerosol or airbrush is preferred because it will produce a smoother finish. It’s also best to not use paints from a hardware store because it tends to be too thick. Instead, you should use paints specifically intended for models.
Each coat of paint that you apply should be very light. In fact, the initial layers may even look translucent. Eventually, your print will turn opaque (usually after the first 3–4 layers of paint have been applied), and at this point, you should wait at least 30 minutes for the paint to set. After you’ve applied all paint layers, polish the paint with polishing paper. After you’ve polished the paint, add a couple of layers of top coat to protect the paint. It’s vital that you use a topcoat that meets the paint manufacturer’s standards.
Epoxy Coating
Another FDM 3D printing finishing option for FDM 3D printed parts during post-processing is epoxy coating. After you sand your part, wipe off any dust with a tack cloth to prep the surface for the coating. Prepare your epoxy mixture with the proper hardener to resin ratio specified on the resin instructions. It’s important to remember that epoxy resins release heat when they are mixed. Therefore, you need to avoid using mixing containers with low melting points because they will melt during mixing and ruin the epoxy. Mix the epoxy resin carefully to avoid air bubbles in the epoxy. Also, keep in mind that the epoxy resin hardens fast, so you most likely will only have around 15 minutes to coat your part.
As soon as your epoxy is mixed, use a foam applicator to apply your initial coating. Pay special attention to more complex features including recessed features on your part to reduce pooling of the epoxy. After the coating is applied, wait for the epoxy to cure based on the manufacturer’s guidelines. For many parts, one epoxy coating is all that is needed. However, for other prints, you can gently sand the epoxy coating after curing with 1,000 grit or higher sandpaper. Use a tack cloth to wipe off any dust and then add another coat of the epoxy resin to your print.
Get multiple quotes for your parts in seconds