
Desktop Apps Installation
Find step-by-step guide to install desktop apps on your workstation
STEP 1: Install the 3DEXPERIENCE Launcher
A Desktop Apps installation tool is required with 3DEXPERIENCE Platform: The 3DEXPERIENCE Launcher.
1.1 - Network Configuration Check
To run correctly, the 3DEXPERIENCE Launcher needs to be able to talk to other 3DEXPERIENCE Platform services locally on the machine. A wrong network proxy server setup can interfere if inaccurately configured.
Please make sure or ensure with your IT network administrator that, if you have a proxy, it is accurately setup to authorize local communications (See FAQ section for more information).
Finally, you can also verify that your network environment is fully compatible with the 3DEXPERIENCE platform on the cloud by using the 3DEXPERIENCE Eligibility Checker tool.
a) A pop up window to download 3DEXPERIENCE Launcher installer will appear after clicking your rich app from the IFWE Compass if the 3DEXPERIENCE Launcher (if not already installed on your computer).
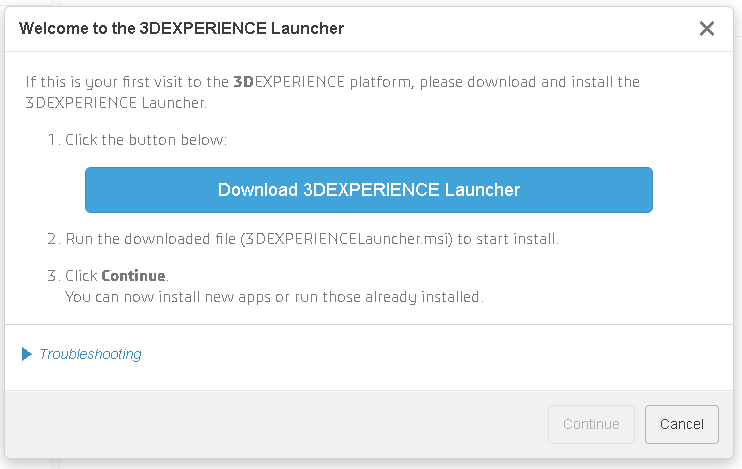
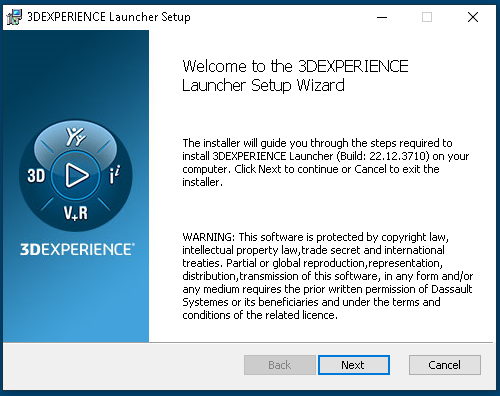
b) After download, run the 3DEXPERIENCE Launcher msi installer.
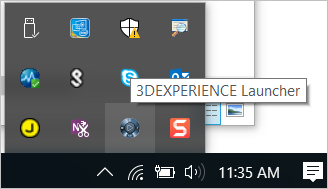
c) At the end of the installation the service will start and an icon will appear in the system tray.
Refresh your browser page before starting the Desktop Apps Installation process (press F5 on your keyboard).
Cloud Eligibility
Test your compatibility and check your hardware and software
STEP 2: Desktop Apps Installation
After the 3DEXPERIENCE Launcher installation completion, or after a click on “Update Later”, the Desktop apps installation process will start while clicking on any Desktop app icon.
If you have issues, please contact the Online User Excellence Center.
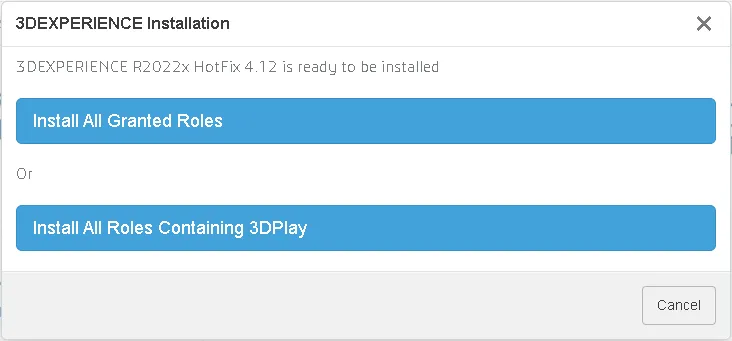
a) Select option of Installing All Granted Roles OR All Roles containing the App
b) Installation launch starts and launches the Installer
c) Installation finishes
d) Launch the App from the Compass by clicking the Icon. The App Launches.
Please consider saving enough time in your schedule to perform this installation.
In case your company has allowed the Network Path* Installation mode, you will have two installation modes available. If you are connected to your company’s internet network, we recommend to prefer the Network Path installation mode as it will be quicker. Else, if you are connected to any other internet network, choose the standard installation mode.
*Network Path installation mode is allowed when your company provides access to its users to a dedicated repository on its local network to store the 3DEXPERIENCE installation files.
Another interesting feature to install is the extention module 3DDrive. Although not mandatory, this pluggin will help you access your drive direcly throught your Windows files explorer.
How to Install 3DDrive
-
Login to 3DEXPERIENCE Platform
-
In top right of the services menu bar, click on Content icon
-
Click on the Gear icon Install option is prompted
-
Allow the installer to launch
-
Install 3DDrive
-
At the end of installation it prompts to define the folder for physical location of the Drive on your machine. Accept default location or specify other location
-
The installation is complete and 3DDrive is ready for use

Troubleshooting
- If you have any issues during the 3DEXPERIENCE installation process refers to the 3DEXPERIENCE Eligibility Checker tool to verify if your network environment is compatible.
- If the 3DEXPERIENCE Eligibility Checker tool doesn't provide any recommendation, please refer to the Troubleshooting section of this user guide document.